How to display a second time zone in your Outlook calendar
Interest in a second time zone
For anyone who has friends, relatives, or colleagues living in a different time zone, it can be fun to calculate the time where they are. Personally, I work with colleagues abroad, particularly across the Atlantic. Especially since the winter/summer time differences, which do not occur on the same date between Europe and the US, complicate the calculation. Since my email is permanently open throughout the day, I found it much easier to add the additional time zone to my Outlook calendar. So, at any time of the day or night, I can see the corresponding time in Florida.
Microsoft Outlook 365 allows you to display three time zones in Calendar view. However, earlier versions of Outlook only allow you to choose two time zones. By default, the first time zone is usually your own, giving you an additional time zone to customize. Let me show you how to add this feature to your own Outlook calendar.
Configuration
- Open Microsoft Outlook
- Select File > Options
- The Outlook Options dialog box appears:
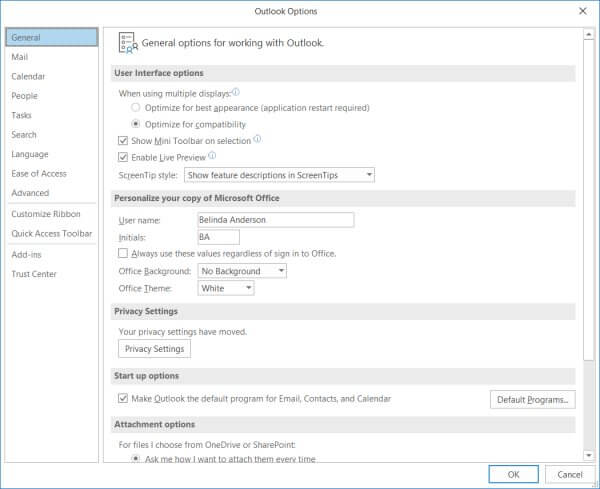
- In the left panel, select Calendar
- Scroll down the page until you find the Time Zones section.
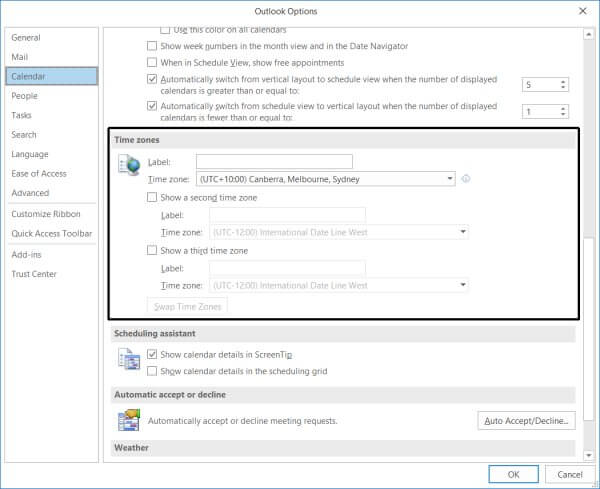
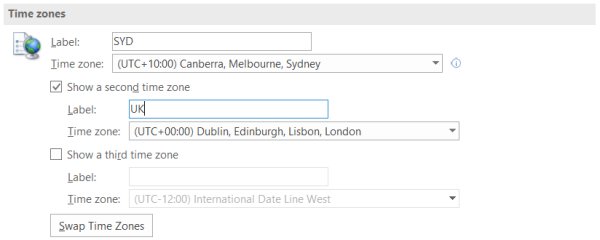
- Your own time zone must be indicated, add a label. Try to keep it short and sweet. For example SYD
- Now check the box “Show a second time zone”.
- Add a label and select the time zone from the drop-down menu.
- If you want to add a third time zone, repeat the steps above.
- Once you are done, click OK
- To view the change, go to the Calendar section using the mouse or press Ctrl + 2 on the keyboard (as long as Calendar is the second item in the navigation list).
- The additional time zone(s) are displayed on the left side of your calendar (except for Month view).
Want more?
You can also set up multiple clocks to display in Windows 10. This allows you to display different time zones in the date and time section located in the lower-right corner of the Windows screen. How would you use this feature? Comment below.