How to Create a SharePoint Online Intranet – Part 3

In the first two parts of this article series, we demonstrated how to create an intranet landing page from a communications site. Our site included our company logo and a site title. We also uploaded a custom theme using the Theme Generator and Management Shell tool. We then began building our homepage by adding sections and a Web Hero component. This highlighted the content prominently.
To complete our homepage layout, let’s add some other useful web elements.
The Hero web component added in part two consists of a single column on our intranet landing page. And it can also be added as a full-width column if you prefer. However, I always choose to add other web components to my landing pages, at least in two columns.
Add a news feed web component
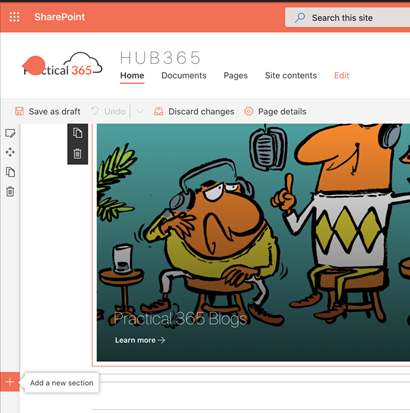
- To do this, we need to edit the homepage again. Then click below the hero web part to Add a new section, as shown in the image below.
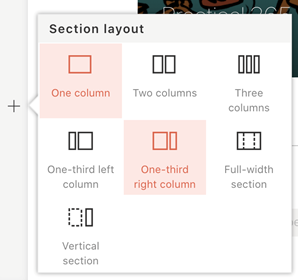
- In this example, I chose the One-third option from the right column.
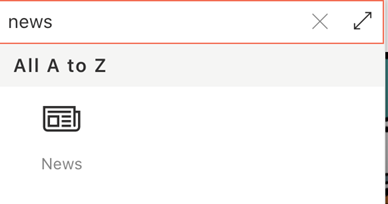
- Once my new section was in place, I clicked to add a new web component to the left column. I then searched for and selected the News web component as shown below.
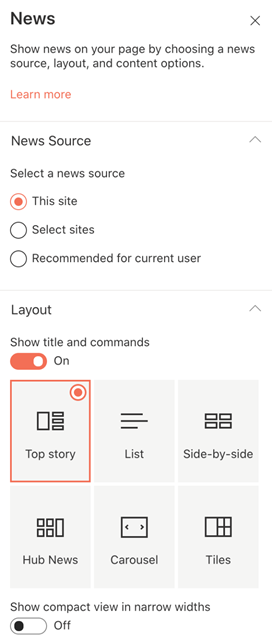
- The News web component was successfully added, and I clicked to edit the web component.
- When you edit the News Web component, you have the option
- to select a source of information
- to configure the layout of the web component. In the example below, I chose the default news source for this site, and I chose the Top story layout option.
- After making my selections for the News web component, I clicked the Republish button to make my changes available to intranet users.
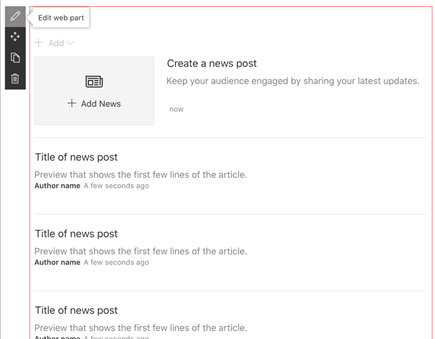
- We can now start adding elements to our Web News component. By clicking “Add News,” you can add a news article or link to external web content. This is illustrated in the following image.
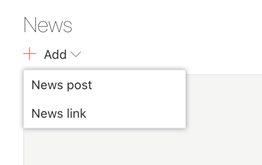
- For this example, I chose to add a News link to an article on the website.
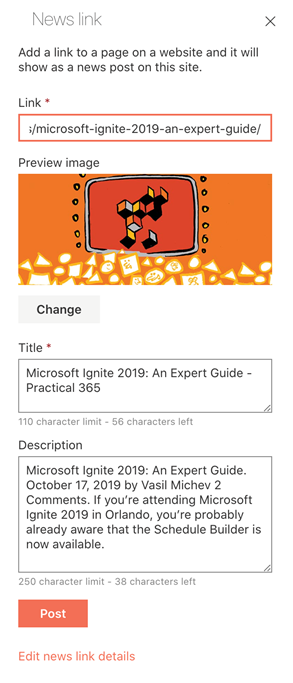
- By clicking on Post, we can see our first press article added under the Hero web part.
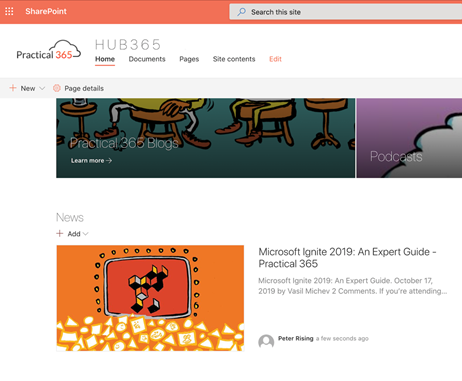
- In the example below, I’ve added more news link elements. This illustrates how this web component will look when it starts populating.
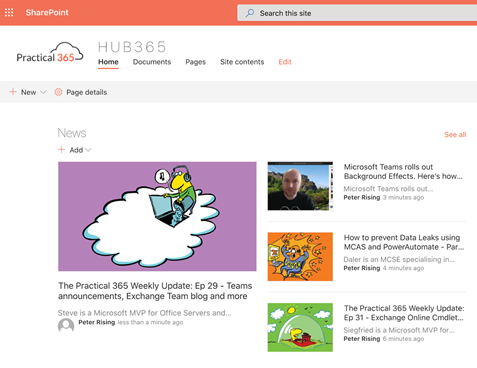
The example above also shows what the homepage would look like without the Web Hero component at the top of the page.
Add a Quick Links web part
Quick links are self-explanatory and essentially shortcuts to useful content. For this example, I’ve edited the home page again and added a new web part. This time, I’ve added the web part to the thinner right column of the new section we added in the previous step for the News web part.
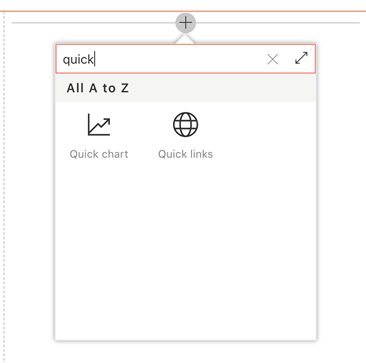
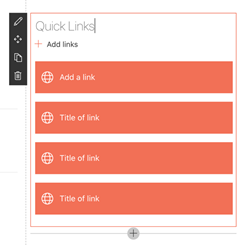
- I selected the Quick Links web component as shown below.
- Then I clicked on Edit web part.
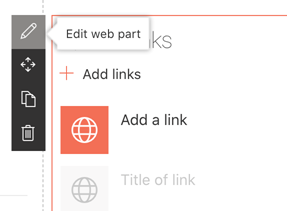
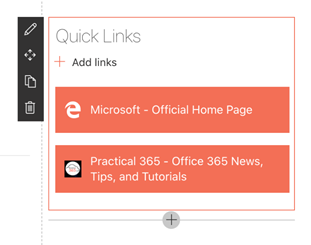
- I chose the Button option with the Fill Color appearance setting as shown below.
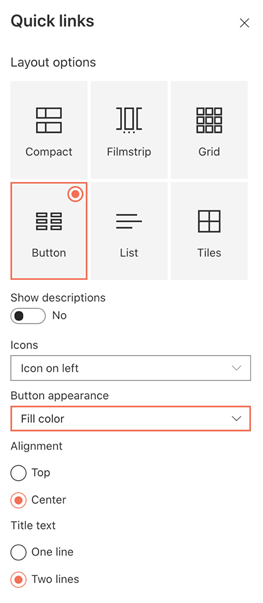
- The above settings have had the effect of displaying the links in this web part in a very visual way that uses the thematic color scheme we introduced earlier in part one of this blog series. This is illustrated in the following image.
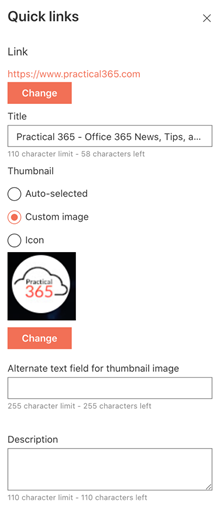
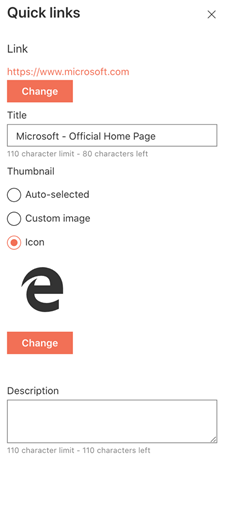
- Next, I added some links. In the examples below, I added links to external content and displayed them using different methods – one using a custom image, and the other using one of the many built-in icons that are available.
- Once added, the links appear in the web component as shown below.
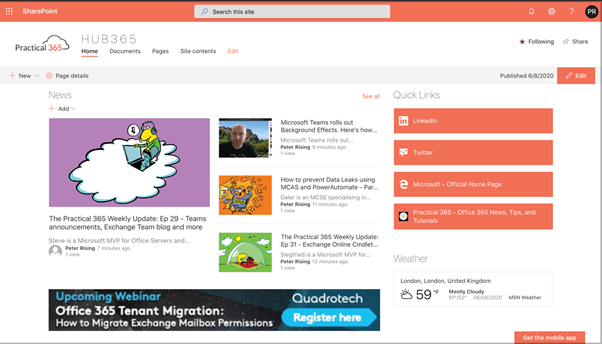
- After completing the quick links section and republishing the page, I made some finishing touches to the homepage by adding a weather widget below the quick links and a banner below the news feed.
This is what the final page looks like with the information web part as the main element.
And here’s what it looks like with the Hero web part left in place.
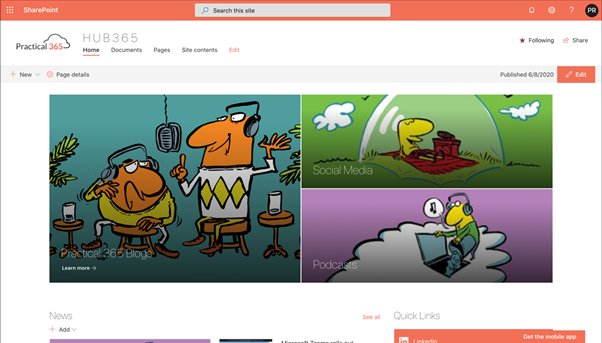
With the Hero web component included in the page, you get a longer page with a scrolling effect.
Conclusion
In this article, we’ve shown you the steps to add additional web elements to your newly created intranet landing page in SharePoint Online. The added web parts are: News, Quick Links, Weather, and Images. Adding these web parts to the sections and columns of your page helps you create a modern and professional intranet experience for your Microsoft 365 users.