Creating a container and adding a blob to the container
We have already created a storage account. Now we will create a container in our storage account and upload some files to it.
Step 1
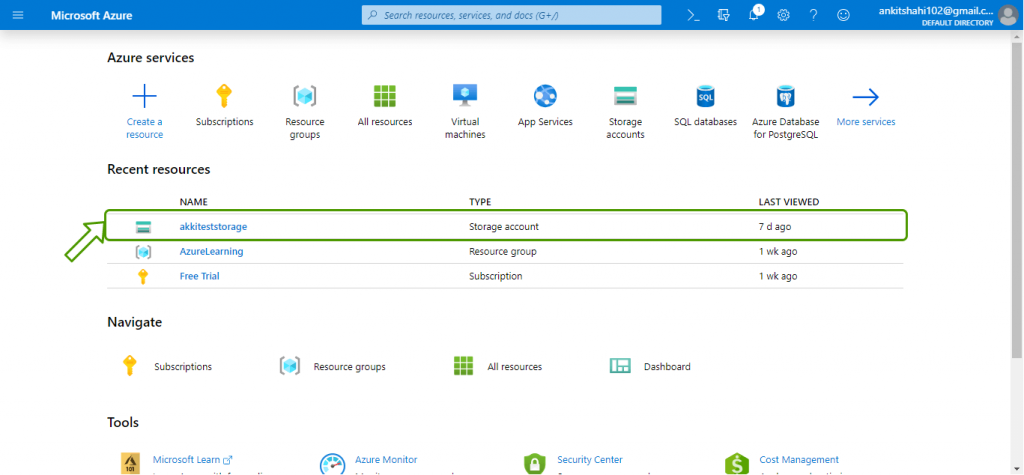
Log in to your Azure portal and click on the storage account you created and added to your homepage/dashboard.
Step 2
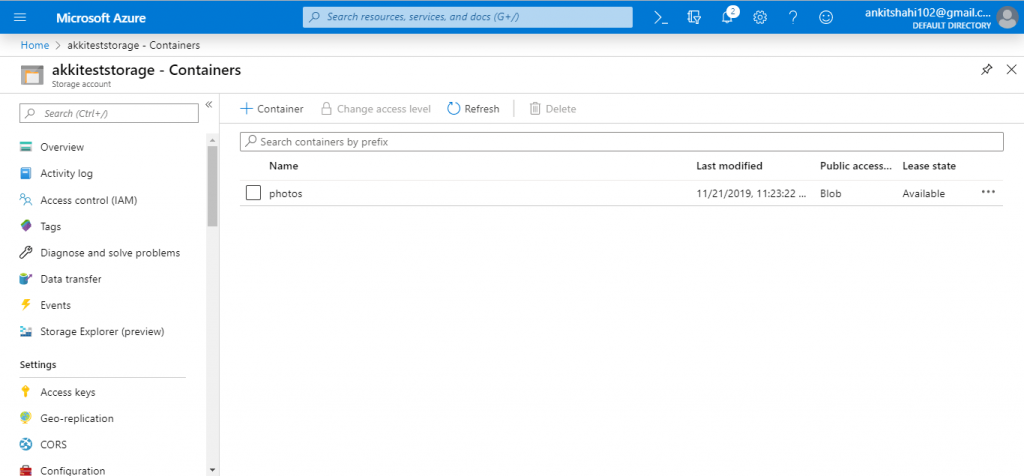
Click on the “Containers” box, as shown in the figure below.

Step 3
Now click on “+Container” tab, it will redirect you to “container form” window.

Step 4
Here you need to give the container a name, and the name must be in lowercase. And in terms of access level, you can choose any of them. Here we choose blob. Then click OK.

Step 5
Now our container has been successfully created.
Step 6
So if you click on the context menu you can see the container properties and the URL using which you can access the container, the last modified Etag and the rental status.

As we saw earlier, we can have metadata at the container level and at the blob level as well, so we can add key-value pairs in the container.
Step 7
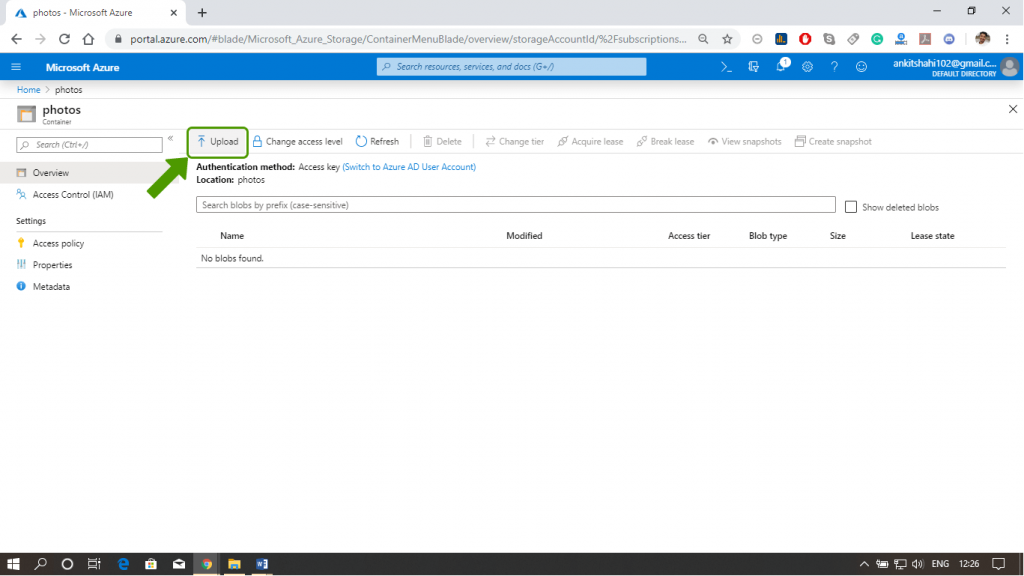
Now click on the container and upload a blob into that container.
Step 8
Click on the file selection option to browse for the file you want to upload to the container.

Step 9
Here we have selected a JPEG file, and if we click on the advanced option, we can specify the blob type. We can set this in case we are uploading a large file. This will significantly improve the upload performance because each block will be uploaded in parallel. This will reduce the latency in the upload. Finally, click the upload button.
Step 10
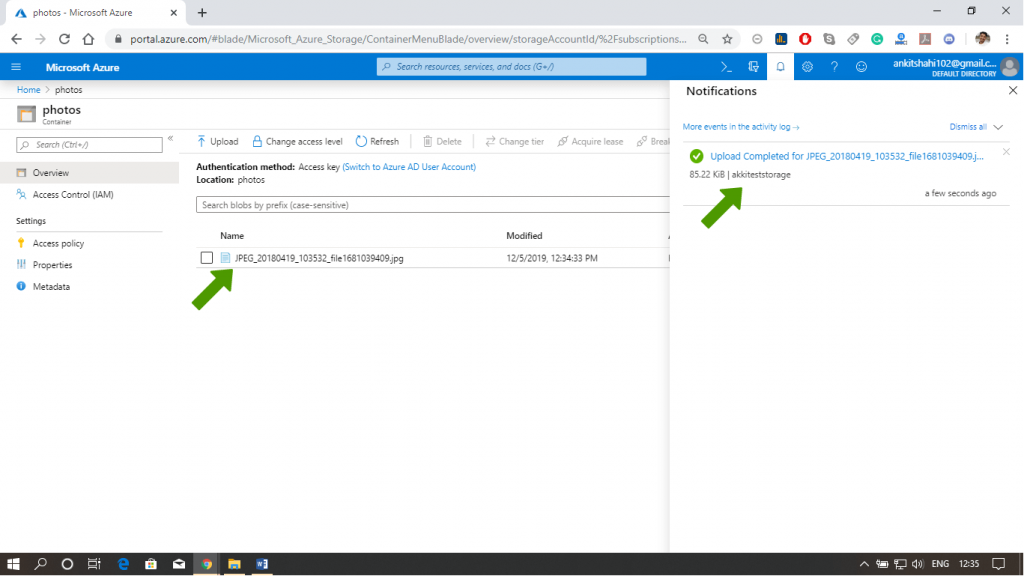
A notification will appear once the download is complete. As shown in the following figure.
Step 11
Refresh your portal to see your file if it doesn’t appear automatically. After that, we can see the access level, the blob type here. And if we click on the menu drawer, we can see view/edit blob, download blob, blob properties, and the URL, which we can use to access this blob. We can create/view the snapshot of this particular file.

This is how we can create a container in the storage account and view its inherent properties. And also, we can upload blobs to this container using the Azure portal.