Azure File Storage Service
Azure File Storage is primarily used if we want to share a disk between two servers or multiple users. In this case, we will opt for Azure File Storage. In the Azure File Storage structure, the prerequisite is an Azure Storage account. The Azure Storage account constitutes Azure File Storage. And once we have created an Azure Storage account, we will create a file share.
We can create an unlimited number of file shares in a storage account. Finally, once the file share is in place, we can create directories and folders to contain files. But also, once the file share is in place, we can mount it on any virtual machine, whether it’s in Azure or outside.

Azure File Storage Concepts
- Storage Account: All access to the Azure Storage service is through a storage account. We must keep in mind the scalability and performance goals for file and blob storage. They can all share the same performance goals under the storage account. Thus, the same storage account limitations will be shared by all services.
- Share: A storage share is an SMB file share in Azure. The file share contains directories and files. So, we cannot create a directory directly in a storage account. We need a file storage share first, and then we can create directories to upload. An account can contain an unlimited number of shares. A share can store an unlimited number of files, up to 5 TB. But, in case we exceed the total capacity, then we can create another file share.
- Directory: This is an optional hierarchy of directories.
- File: A file in the share. A file can have a maximum size of 1 TB.
- URL Format: For a request to an Azure file share made with the File REST protocol.
File storage Data access methods
Azure offers two integrated and convenient data access methods, which can be used separately or in combination:
- Direct cloud access: Windows, macOS, or Linux can mount any Azure file share using the standard Server Message Block (SMB) protocol or via the File REST API. However, if we use the SMB protocol, we need to be careful of two things. First, the operating system’s SMB client must support at least SMB 2.1. Second, the SMB client supported by the workstation must be at least SMB 3.0 with encryption enabled. And if we’re mounting an Azure file share on-premises, the minimum SMB client version must be 3.0. But if we’re installing a VM in Azure, it can be 2.1.
- Azure File Sync: With Azure File Sync, shares can be replicated to on-premises or Azure Windows servers. Our users can access the file share through the Windows server, like an SMB or NFS share. All frequently accessed files will be synced to the server endpoint. And all rarely accessed data will be moved to the Azure file share. This way, we can achieve the speed of data delivery to your users and thus save storage.
Data transfer method
When we create an Azure file share, and we already have a large file share on-premises. Then using the below option we can transfer those files.
- Azure File Sync: The first time an Azure file share is synchronized with a Windows directory namespace, Azure File Sync will replicate all data from the existing file share to Azure Files.
- Azure Import/Export: If we have terabytes of data that we need to transfer to Azure Files, and if we start moving the data using Azure File Sync, it could consume all the bandwidth. This could be a slow process that could take months. In this case, you can use Azure Import/Export. Microsoft will provide you with a hard drive for this purpose to fill with your data, and you will return it to Microsoft. They will load the data from the hard drive and into an Azure data center.
- Robocopy: Robocopy is a popular copying tool available with Windows and Windows Server. We can use it to transfer data to Azure Files. To do this, we need to mount the shared files locally, then use the mount location as the destination in the robocopy command.
- AzCopy: This is a command-line utility tool. We can use it to copy data to and from Azure files. It can also be used for blob storage, and you can use Azcopy with simple commands. It offers excellent performance and is available for Windows and Linux.
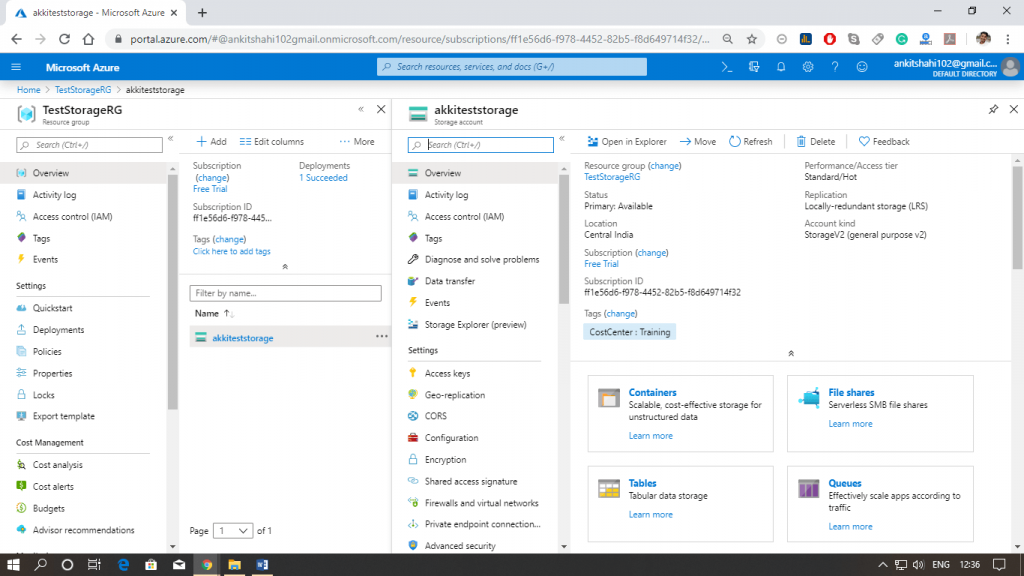
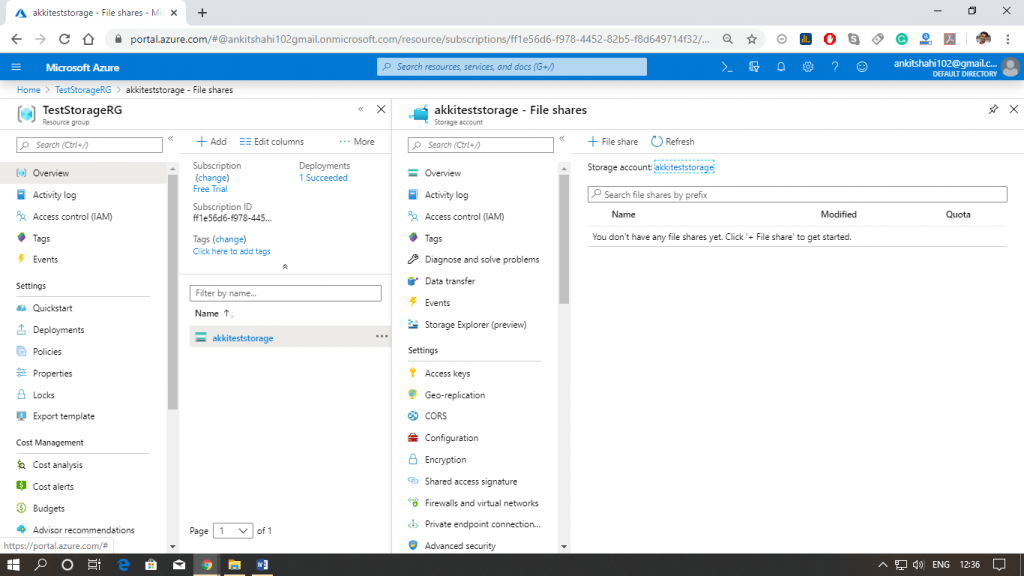
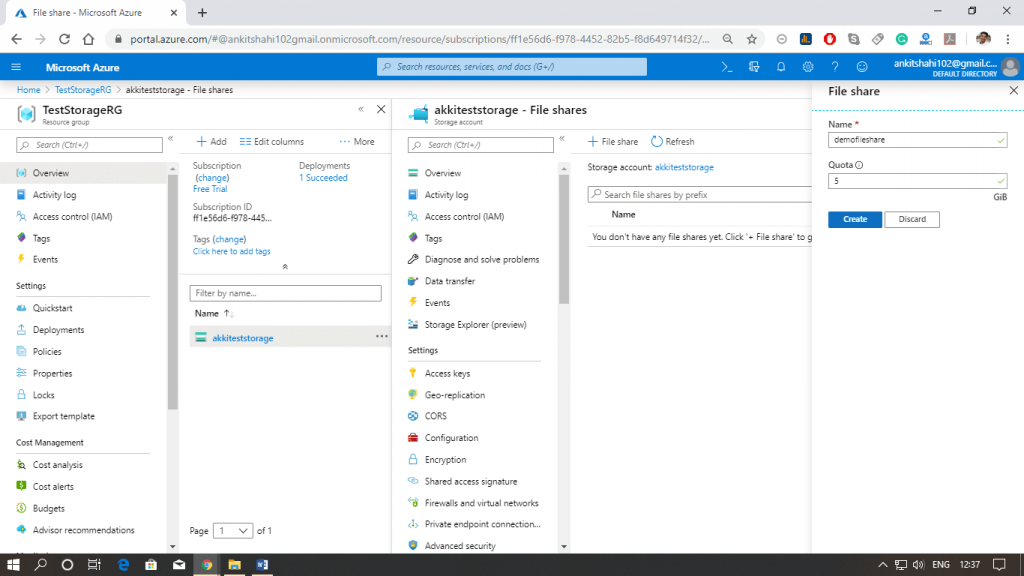
Creating File Storage in Azure
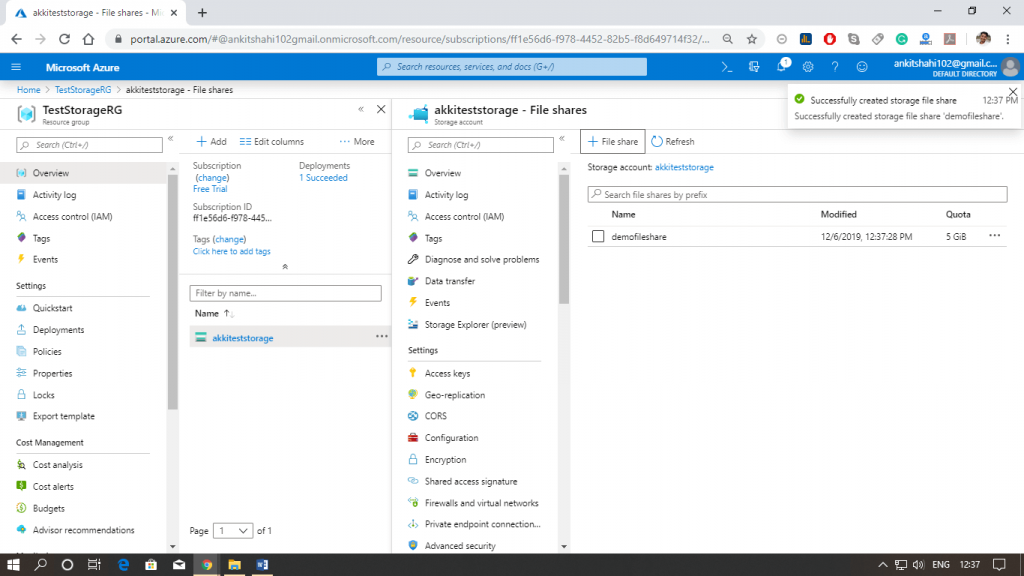
- Step 1: Go to Azure Storage account, then scroll down and click on Files.
- Step 2: Click +File Share.
- Step 3: Provide the file share name and quota, then you will receive a notification of successful operation.
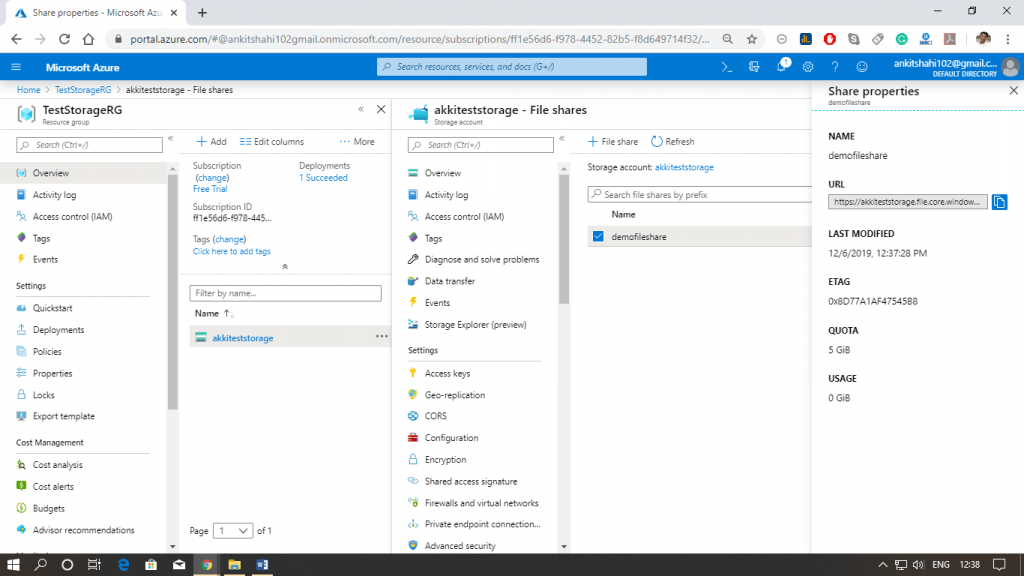
- Step 4: Click on the File share property where you can see the URL and also the quota and disk occupancy rate.
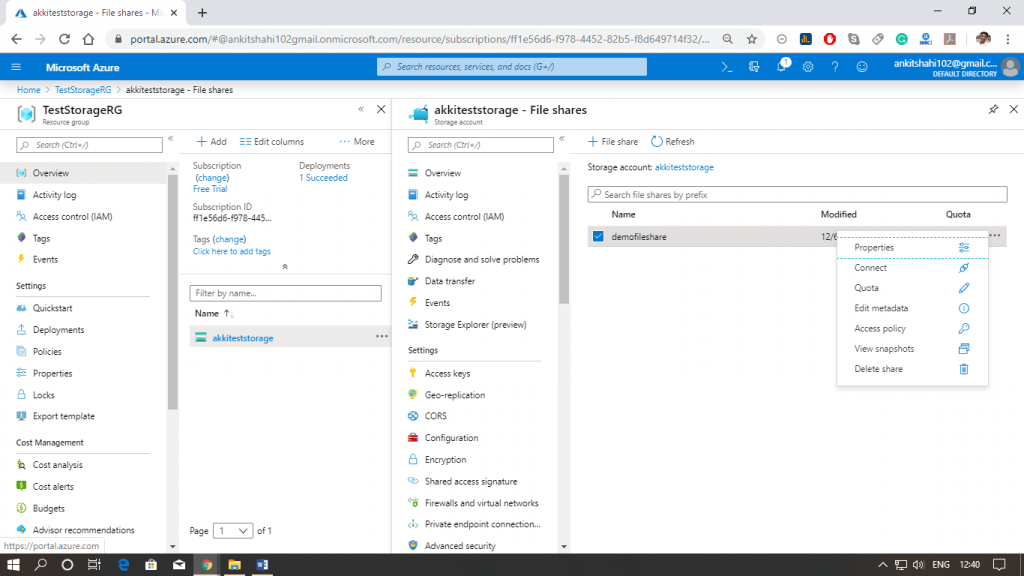
- Step 5: And the second option is to connect, here you can see the PowerShell command and normal command to connect this file share on Windows computer.

Other options are also present in the following figures.
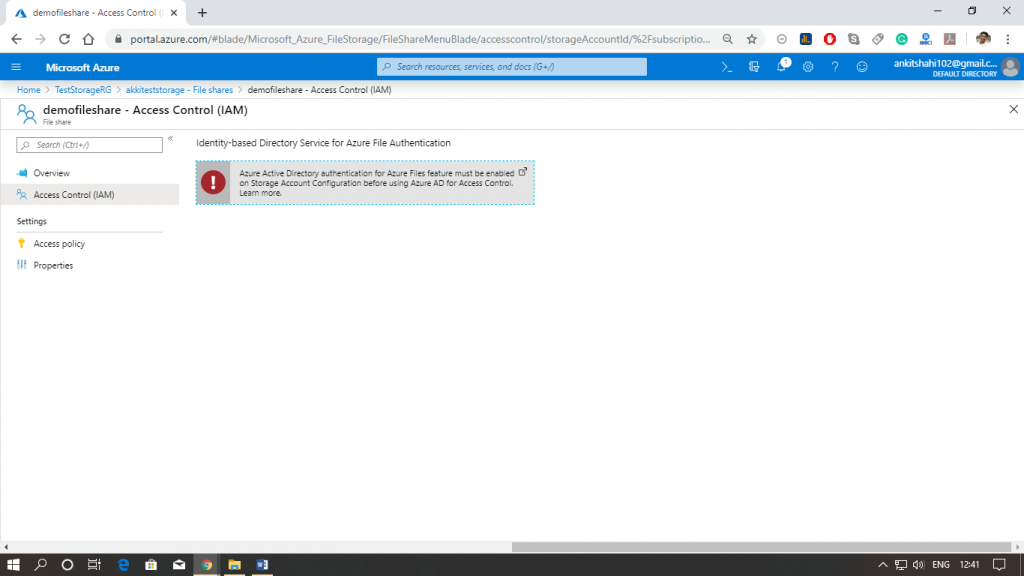
- Step 6: Click on File share and open it, where you can see the Access Control tab. You can use Active Directory to control access to Azure file share. This feature is currently under evaluation.
- Step 7: To mount this file share with the Windows virtual machine, click Connect.

- Step 8: Open the command line and copy the given command into the Connect window. If the command executes successfully, your file share will be mounted with a virtual machine.